The Materials

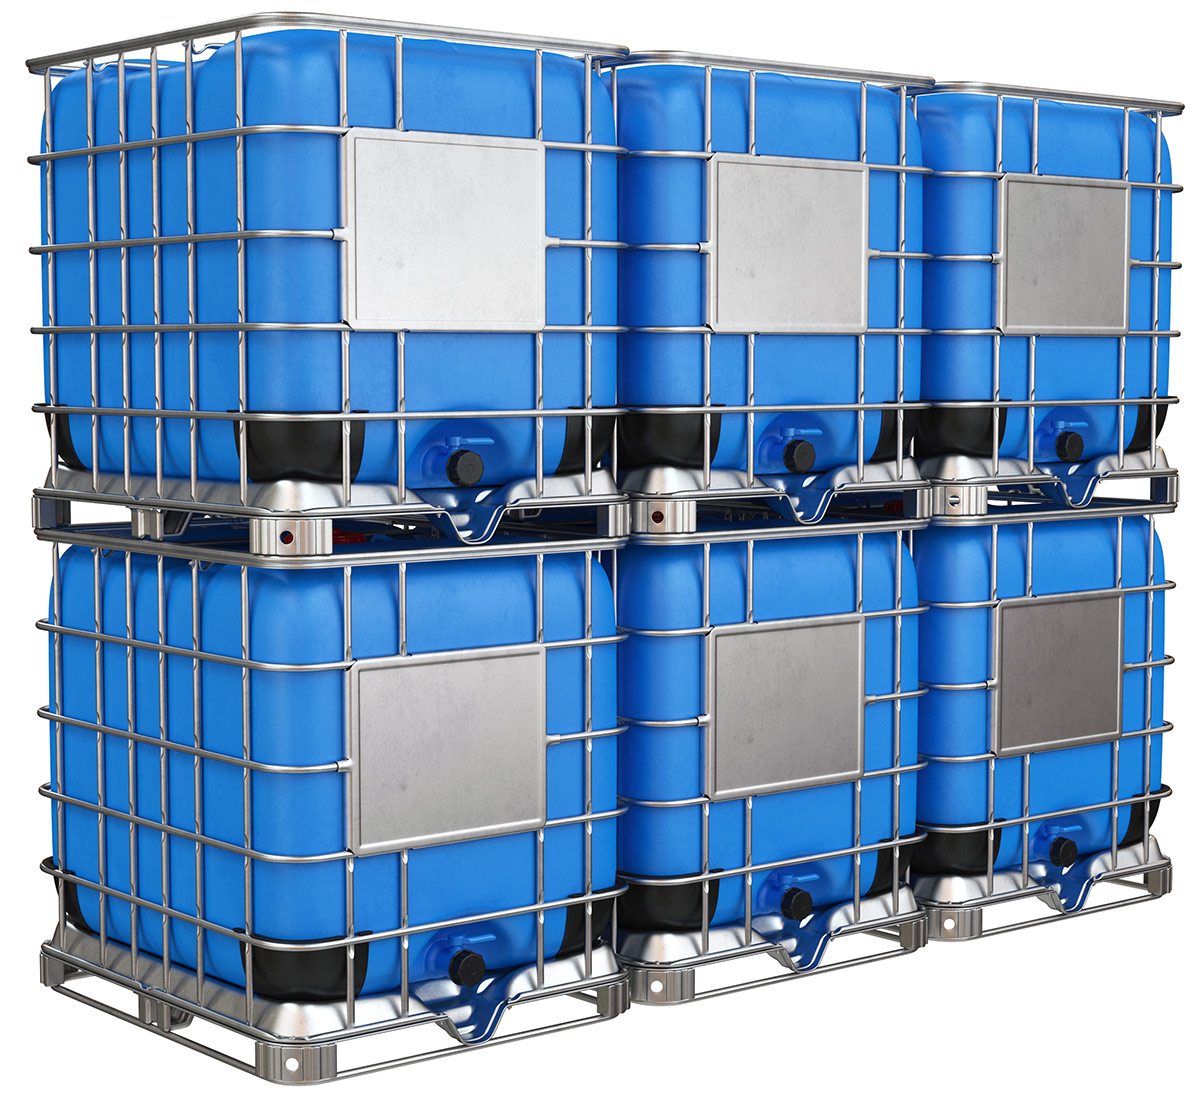
The rain barrel can be made of many different types of material, including plastic, steel, and wood. This step-by-step guide walks you through how to create a barrel out of a 55-gallon plastic shipping drum, but if you are going for an industrial look, you can also use a 55-gallon steel shipping drum.
You can use a new or refurbished shipping drum. Just make sure the barrel is food grade. If you can, choose a shipping drum made from opaque material. This type of material lets in as little light as possible so that algae is less likely to grow in the drum.
For your faucet, choose a spigot that will work with your garden hose. You will also need reducing washers. Use ones that have a lip on the inner rim.
Other materials needed include caulk, locknuts, pliers, some tight mesh mosquito screen, and bungee cord or cargo tape.
The Steps
- The first step in creating your rain barrel is to drill a hole in the shipping drum for the faucet. Drill the hole as low as possible on the barrel—water below the hole will not flow out. However, do not drill the hole so low you cannot attach a hose or place a watering can underneath it. Depending on the material your barrel is constructed of, you can use a hole saw, which is a regular drill with a hole-cutting attachment. The size of your hole should match the size of your faucet.
- The next step is to create the faucet threads. Keep the shipping drum on its side and screw the hose bibb of the faucet all the way into and back out of your hole. This step may take a little bit of force to get the faucet threads to catch, but be careful not to damage the threads you are creating.
- After removing the faucet, apply a thin line of caulk around the edge of the hole. Place a reducing washer over the hole, with the caulk acting as the adhesive. The raised portion of the reducing washer should go against the barrel.
- Once the reducing washer is tightly in place, screw the faucet back in. This should be easier now you have the threads in the hole.
- Repeat Step 3 but on the inside of the barrel. Remember to take the caulk and a reducing washer inside the barrel with you. A flashlight may also help. Once you have the reducing washer in place, screw in a locknut to secure the faucet from the inside. Use the pliers to tighten the locknut.
- If you are designing your barrel to have an overflow spout so you can connect multiple barrels together, then repeat the process at the top of the barrel with a rigid nipple. If you do not install an overflow spout, water will spill over once the barrel is full, which could damage your foundation.
- Drill two 6” holes in the lid of the shipping drum. This will be how water enters the barrel. Place the mesh mosquito screen over the open drum and secure it with cargo tape or a bungee cord around the rim. Then tightly secure the lid over the screen. This will keep little animals, mosquitos, and other bugs out of your barrel. You will need to periodically remove the screen and wash it out.
- Once the barrel is completed, level out the area in front of the downspout from which you plan on catching rain water. A full rain barrel can weigh up to 450 pounds, which you do not want to tip over. Using a hacksaw, cut your gutter at a height that allows the barrel to slide underneath it and have the water flow directly into the barrel. Be sure to account for the reattachment of the downspout to the gutter. You can attach a drip irrigation tube or garden hose to the spigot.
Conclusion
Rain barrels come in all shapes and sizes, with different attachments and accessories. You can link barrels together to increase the volume of usable rainwater. Pumps and filtration systems can also be attached to your barrels. This simple step-by-step guide will quickly get you on your way to conserving rainwater for use in your garden.


